
Screen Recording in PowerPoint – what is this feature and how do I use it to then insert it in my presentation?
![]()
This week’s hint and tip is on screen recording in PowerPoint. We have previously done a hint and tip that mentioned this feature but we didn’t go into a lot of detail about it. This feature is a really useful one in PowerPoint and is easy to set up and use on your computer. We don’t cover this feature in either our Basic PowerPoint or Intermediate PowerPoint training courses so we decided to do a hint and tip on it. We are going to go through in more detail now on how to use this feature in PowerPoint below.
Where do I find the feature
The screen recording option can be found on the Insert Tab. It can also be found on the Record Tab if you have this one in your version of PowerPoint. The Screen Recording option is found in the Record section on both of these tabs. On the Insert one, it can be found on the far right hand side. On the Record one, it can be round near the beginning on the left hand side.


How to use this feature
When you click on the Screen Recording option, it allows you to draw the area you want to record on the screen.
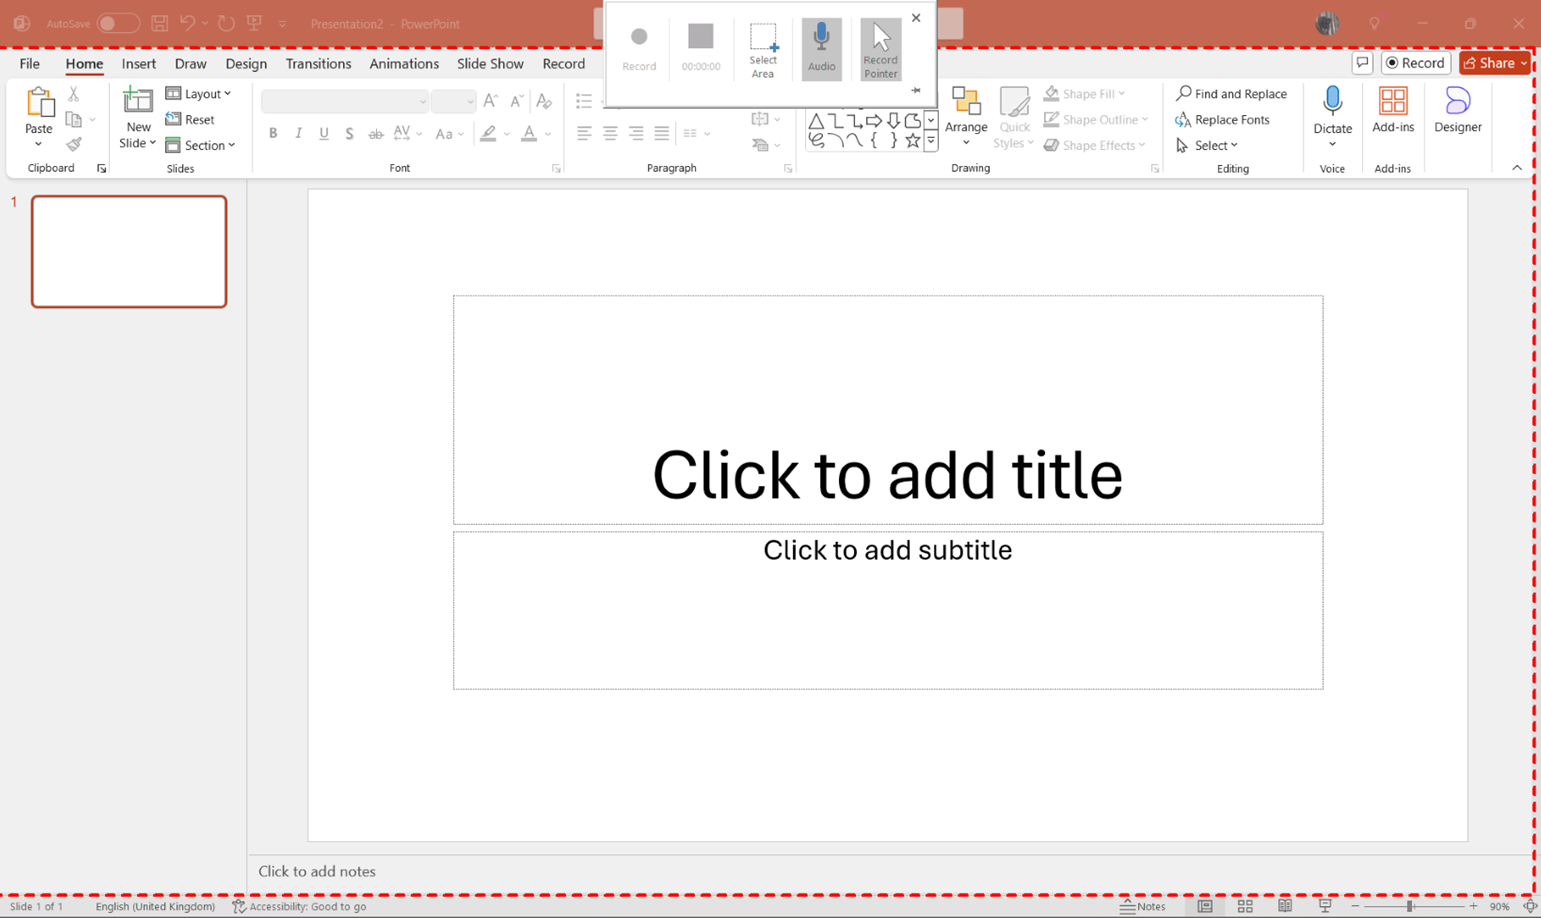
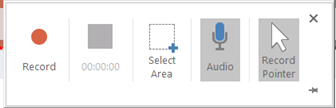
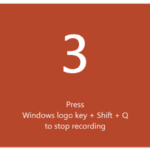
The bar at the top that appears has the options for recording. Once you have drawn the window and pressed Record, the countdown window seen on the right below appears.
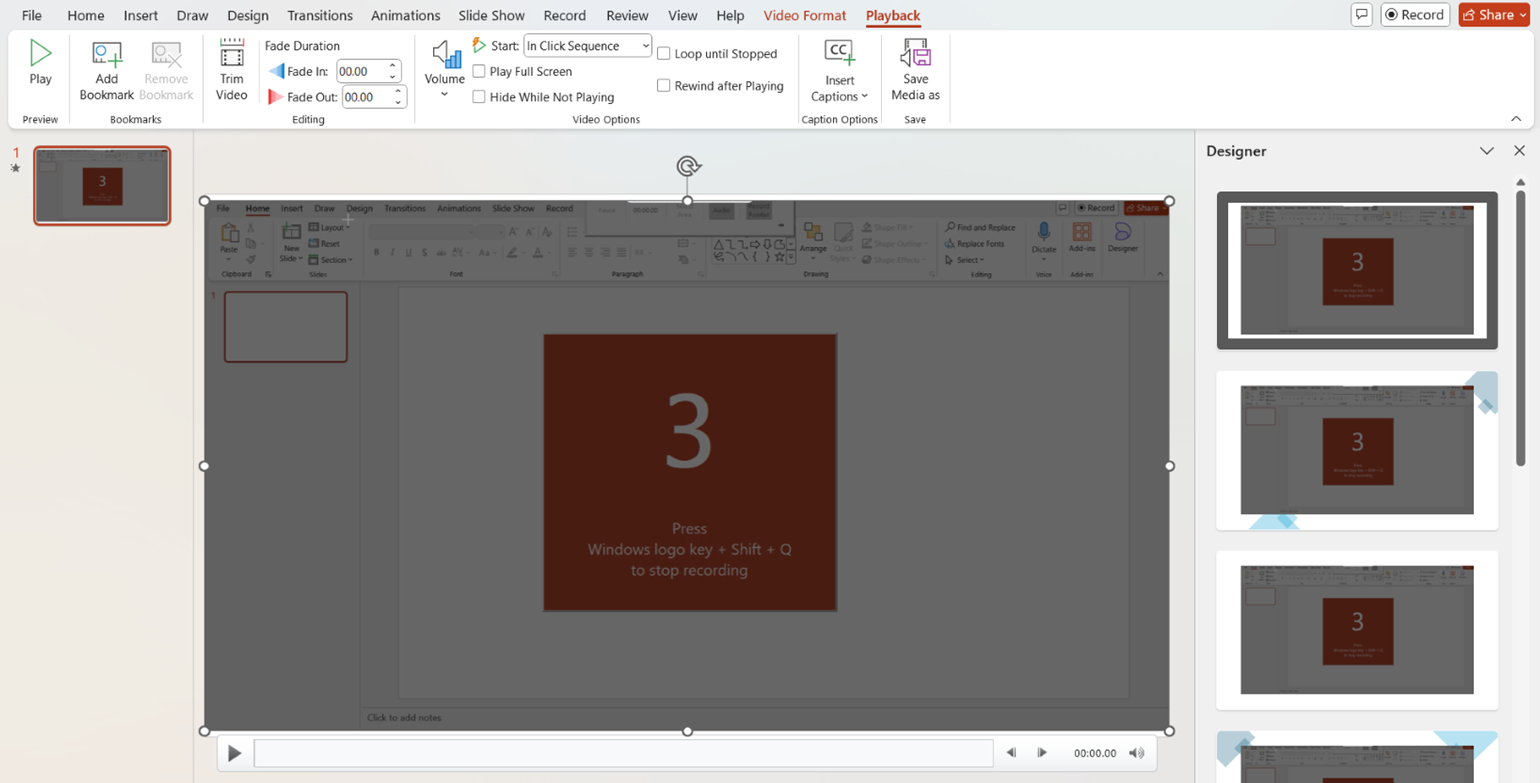
Once press stop, inserts video and can edit on the Format and Playback tab at top. These two tabs allow you to make changes or formatting edits to the video itself.
Saving the video
Once you have made any edits or changes you can then save the video as a mp4 media file. The file can then be used or uploaded in this format to wherever you want it to be used.
The video below shows you how you can use this feature to then insert it in a presentation. This screen recording option is very useful and can often be used to demonstrate something to someone in a quicker way.
Take a look below at the video to find out more and then try them out on your own computer!
We hope you have enjoyed this hint and tip on the screen recording in PowerPoint feature. Why not take a look at our previous video hint and tip on the date picker option you can insert into a table in Word?